Flutter FocusNode 焦点那点事-(一)
文章目录
很多时候, flutter 中需要处理输入的焦点, 咱们今天就来看看控件怎么用
本篇可以视为简单使用, 而不会深入源码去探讨怎么附着, 主要是 Focus 系列控件的使用, 和怎么在多输入框之间反复横跳
环境说明
- 本篇基本基于 flutter sdk 的 1.17.5 版本来看, 其他版本应该大同小异, 但很多东西可能会随时间变化, 未来是否有效请继续验证
- 本篇基本是针对移动端来说的
- 写本文时, flutter web 的焦点比较迷, 似乎和移动版不太一样, 所以暂时略过不表
- desktop 版只尝试了 macOS, 其他的桌面引擎请自行校验对错
相关 dart class
flutter 中, 和焦点相关联类有如下几个:
FocusNode: 这个可以说是最常用到的, 核心类之一FocusManager: 单例类, 整个 flutter 应用的焦点管理核心都是这东西在处理, 包括和原生交互弹出软键盘之类的操作Focus: 一个 Widget, 用于给控件"添加"焦点能力, 包起来就行,InkWell之类的控件能获取焦点能力都是靠这东西FocusScope: 一个 Widget, Focus 的子类, 被这东西包起来的所有的子 widget 的FocusNode都会被自动注册到这个里面, 接受统一管理FocusScopeNode: 这东西本身是 FocusNode 的子类, 但是它主要是给FocusScope用的,扩展了FocusNode的行为FocusTraversalPolicy,FocusTraversalGroup: 这两个东西是 focus node 的策略, 用于排序哪个是下一个焦点的问题, 这两个东西本篇应该不讲, 有兴趣的可以去看官方文档, 目前个人认为应该用不上
FocusNode
这东西讲的人很多, 我也就不展开了, 简单的说一下几个方法
canRequestFocus: 是否能请求焦点context: 焦点"附着"的 widget 的 BuildContexthasFocus: 是否有焦点unfocus: 放弃焦点, 如果当前 node 有焦点,并调用这个, 就放弃了焦点, 如果同时有软键盘弹起, 则软键盘收起requestFocus: 请求焦点, 这个方法调用后, 会把焦点移到当前
备注: 有很多其他的方法, 对于普通朋友和正常的应用场景很难用到, 作为程序框架有提供, 但是个人观点不必一定要了解, 只要知道主要方法即可
FocusManager
这东西是一个单例的,通过FocusManager.instance获取
有一个常用方法了解一下: FocusManager.instance.primaryFocus.unfocus();, 调用一下, 软键盘就下去了
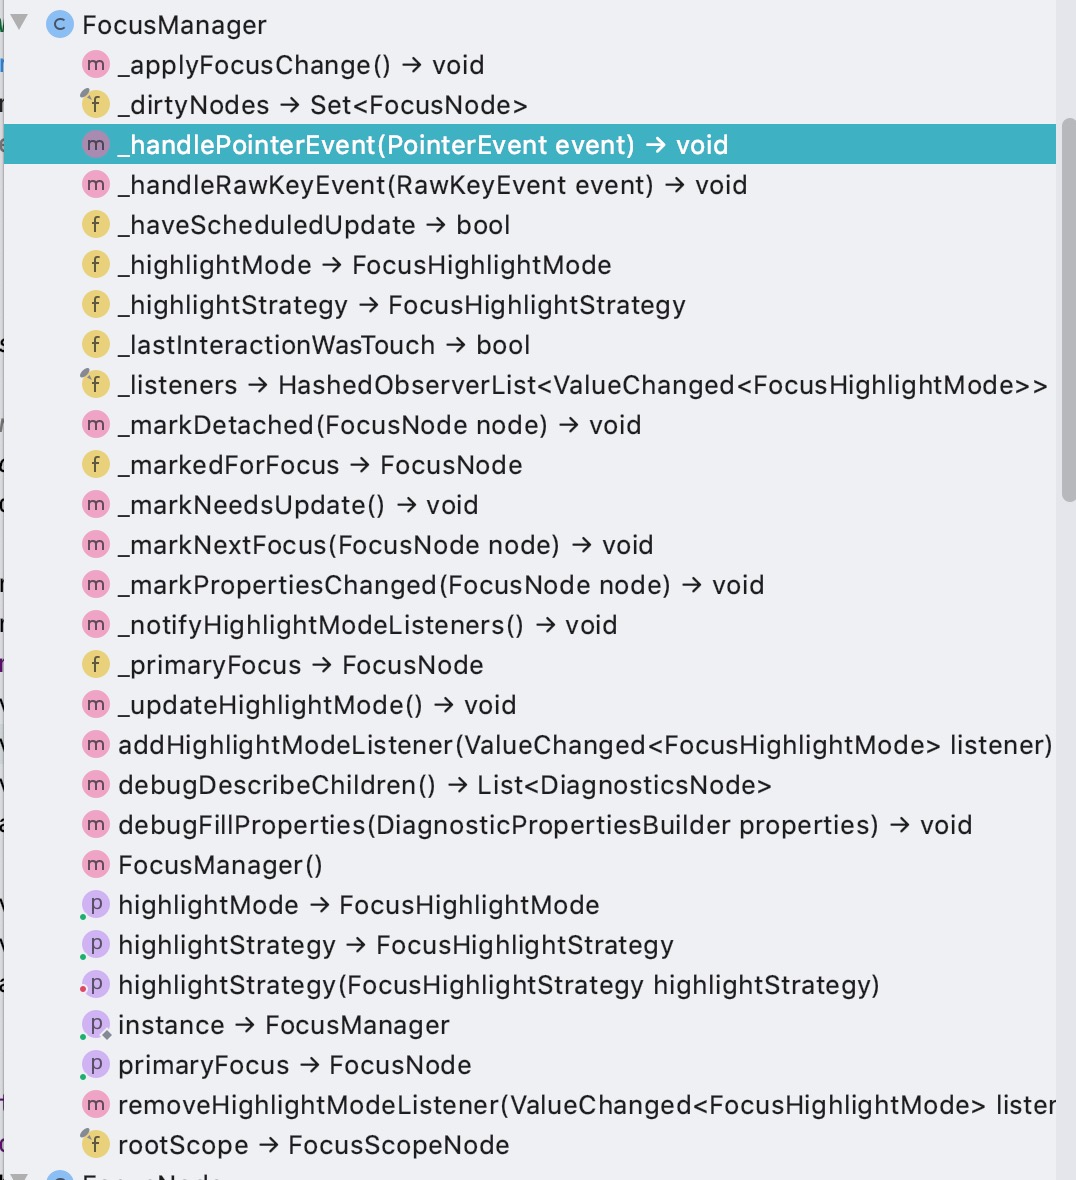
这东西里面基本都是私有方法, 能调用的并不多
FocusHighlightMode 这东西是焦点的"模式", 对应触摸和鼠标键盘, 个人认为一般情况下用不到, 移动端就 touch 就可以了
Focus
这东西一般情况下很少能用到, SDK 里有一些地方会用到, Focus 对象本身内部会维护一个 FocusNode, 比如按钮能响应键盘回车之类的焦点就是因为内部有这东西
这个类在 flutter 项目中使用率不算高, 但都是关键处
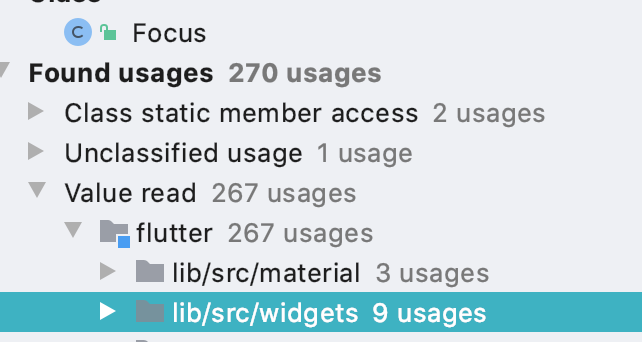
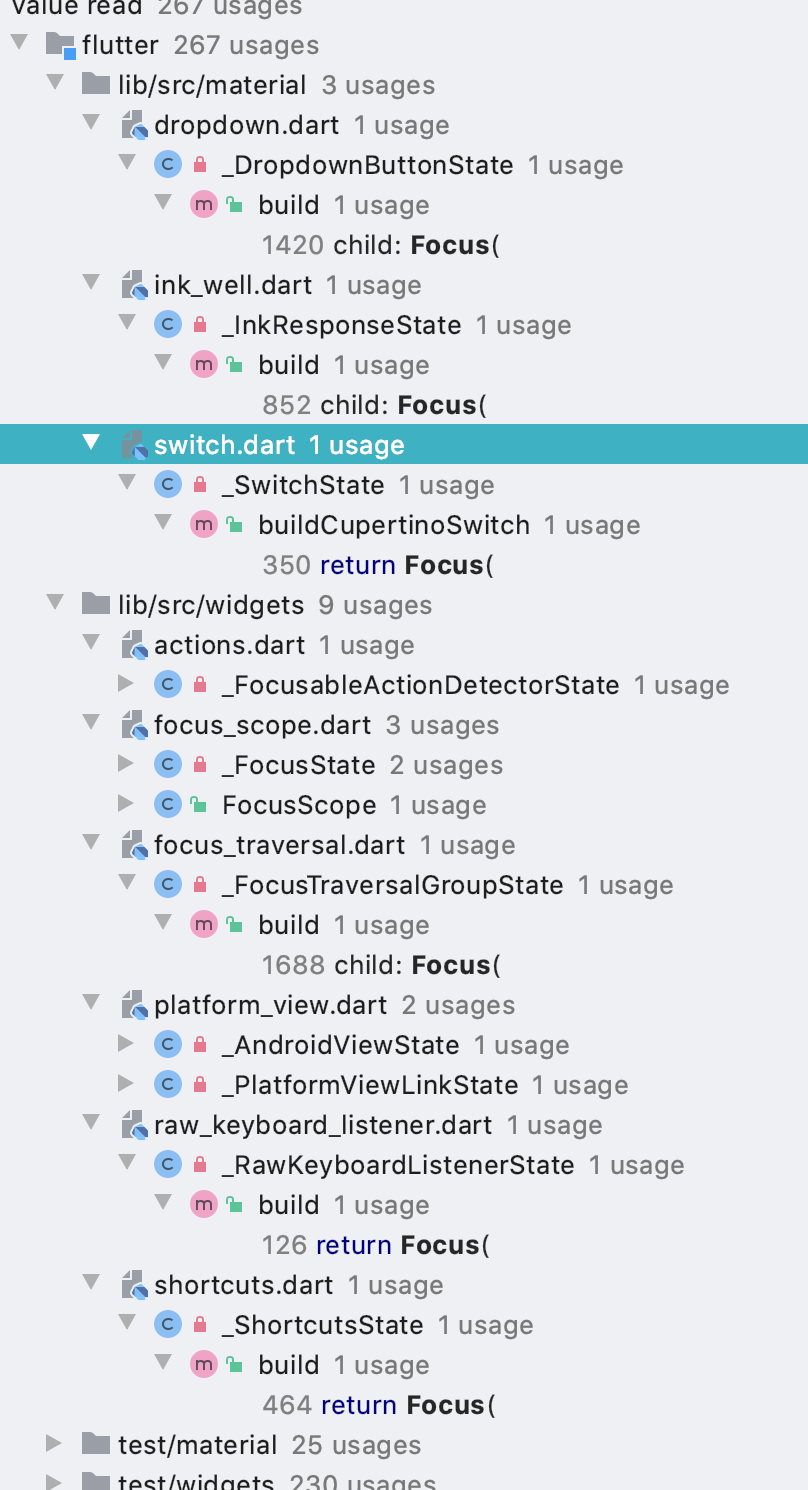
_FocusableActionDetectorState: 对应 FocusableActionDetector 的状态, 这个类被用于 CheckBox, Radio, Switch
FocusScope
这东西很少见有文档讲, 这里我简单的解析一下, 这个也可以说是后面使用的重点, 我在实际开发中遇到有输入框的情况下, 这个控件是我的首选
简单来说, 就是在这东西子控件内的 FocusNode 都会被统一维护
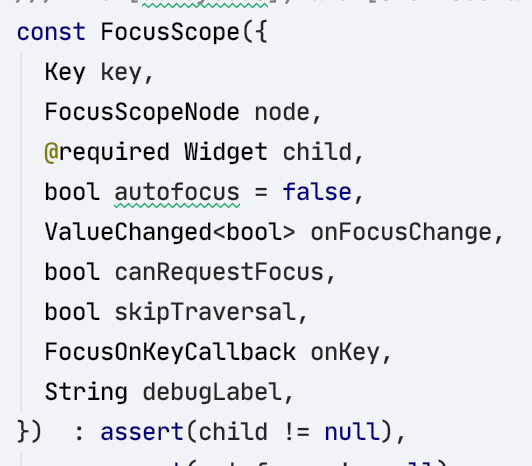
这东西构造方法可以传一些参数, 常用的无非就是 node, canRequestFocus, 之类的.
这里有一个 skipTraversal, 这个参数后面结合例子来看才能说明白
FocusScopeNode
一般和FocusScope成对使用
写代码
入门级写法
嗯, 前面都是概念性的东西, 很多朋友都不想看, 而且也没啥意思
比如有一个这样的场景
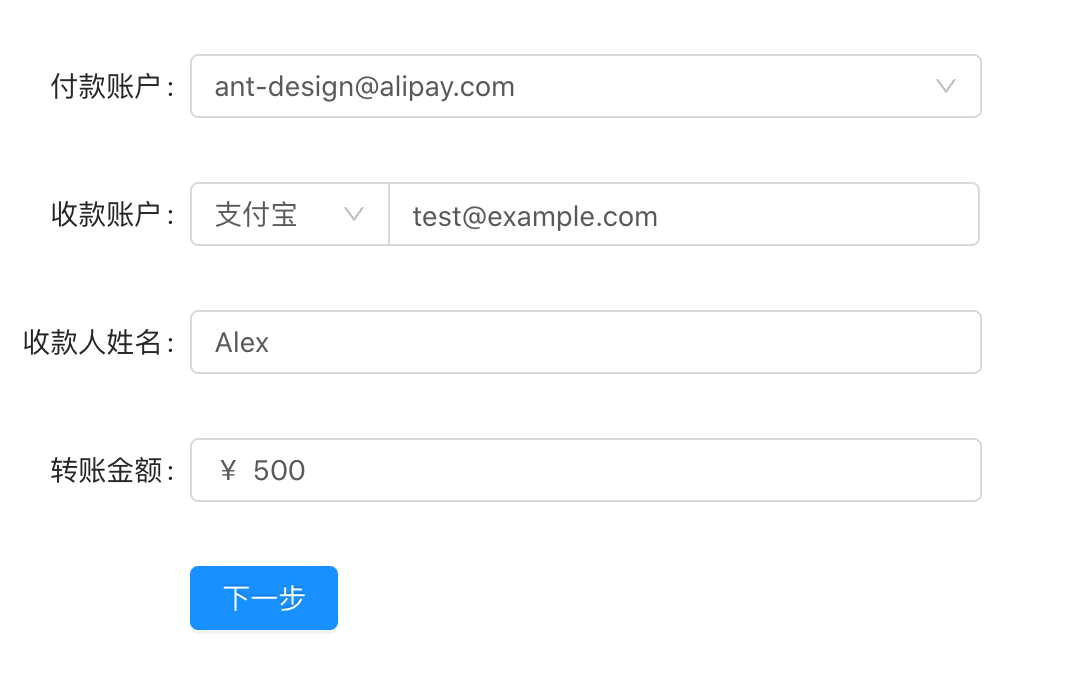
用 app 来说, 就是 4 个输入框, 一个个的点击自然可以, 但是如果要用户体验好是不是应该可以回车一直下一步, 然后最后一条直接提交呢?
模拟一下这个东西很多人的写法
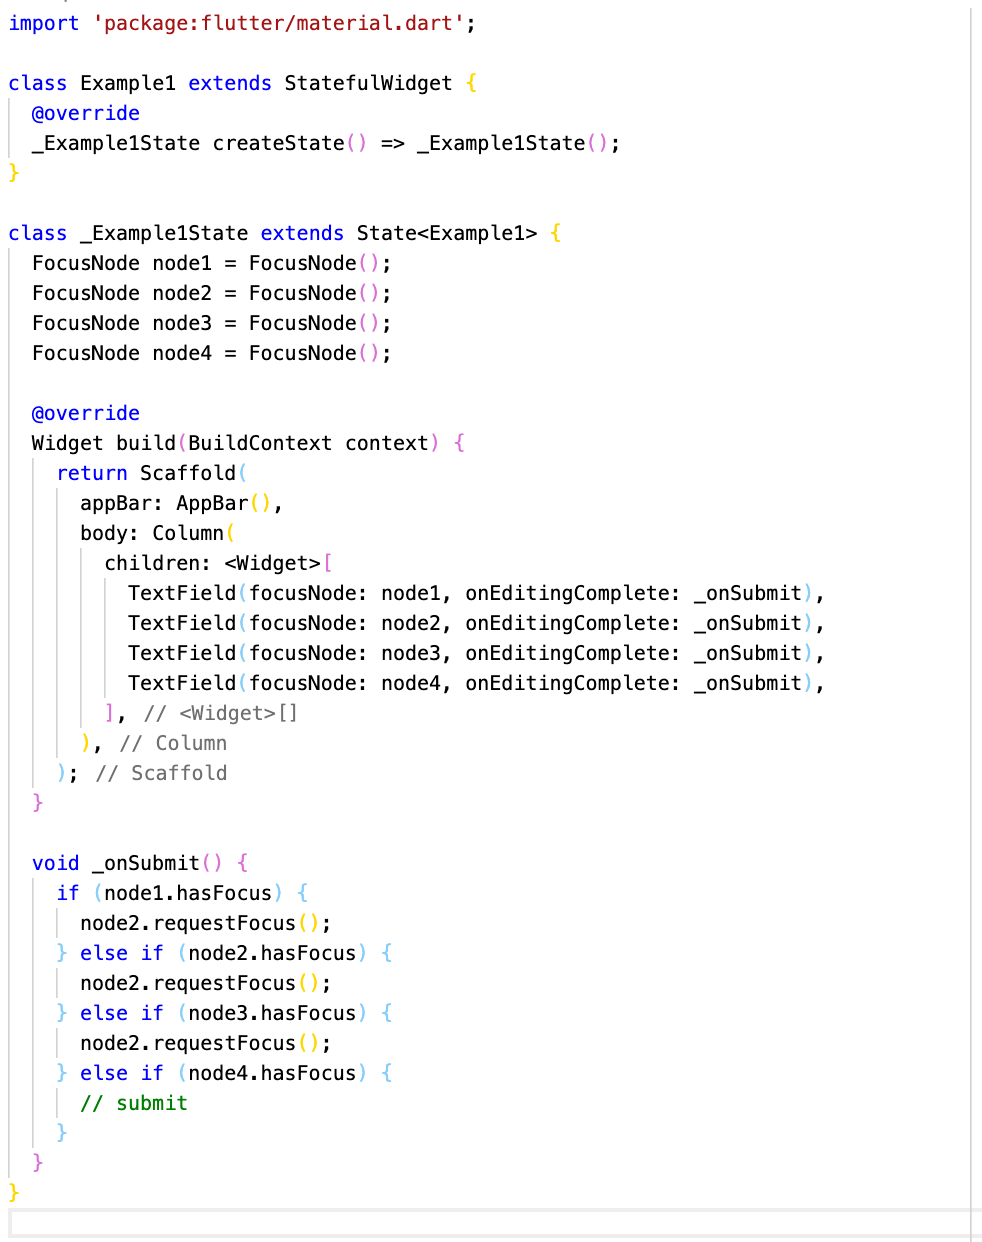
嗯, 点评一下, 嗯 很整齐, 那么... 当你有 10 个的时候怎么办呢? 想想就很美
我们改写下,也许可以这样?
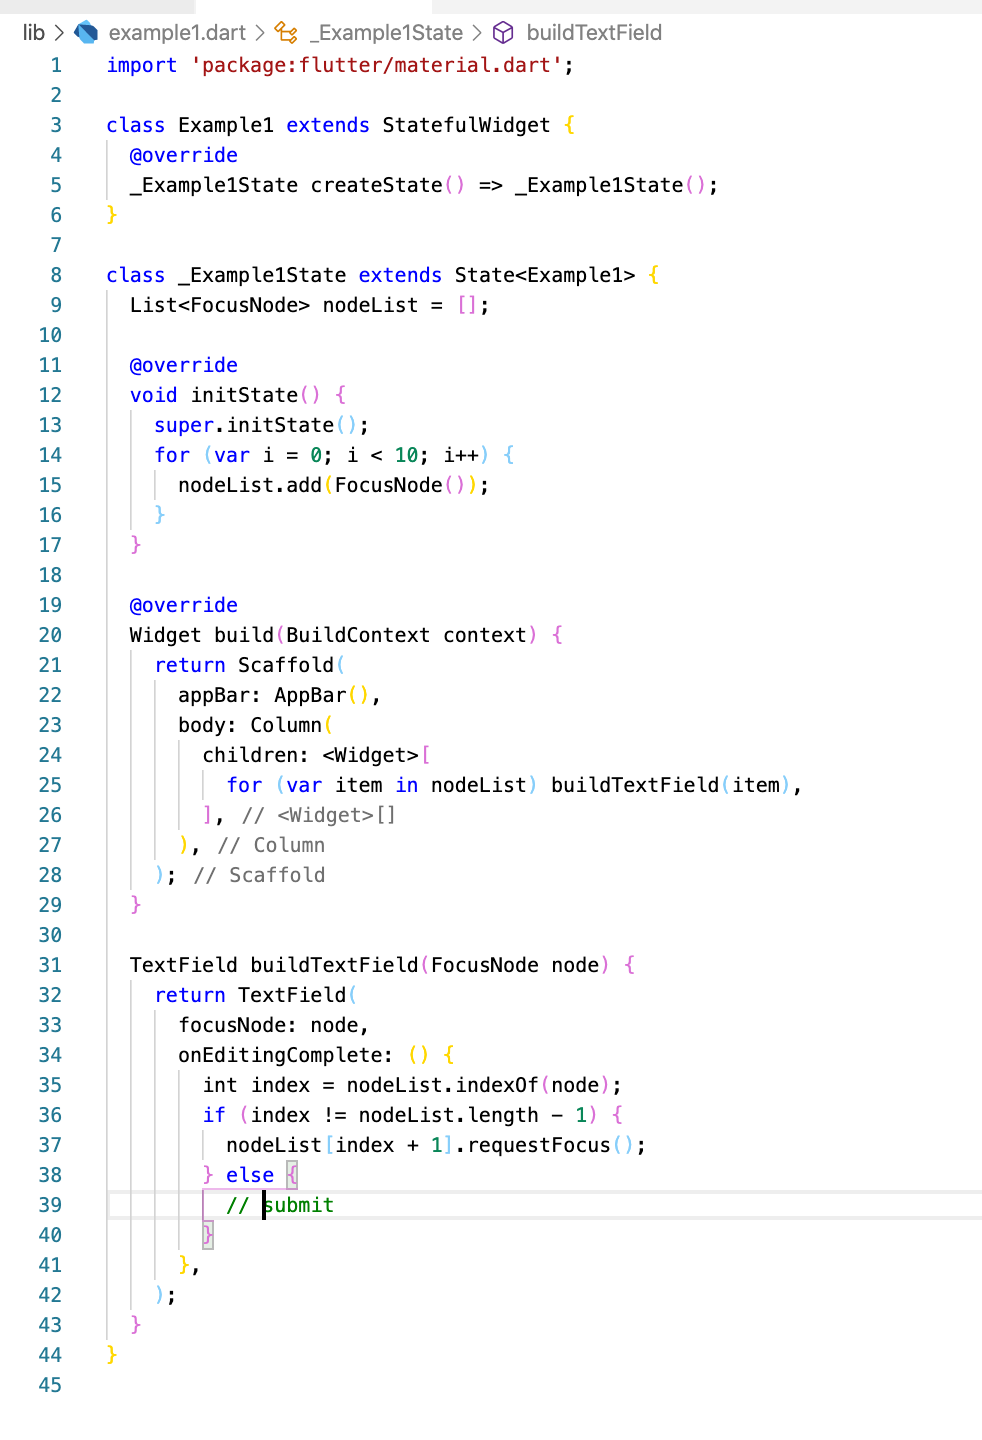
好的, 算你基础扎实, 这样写自然是可以的.
进阶
上面的写法很 dart, 但是不 flutter, 我们 flutter 的写法可以改成这样
 1import 'package:flutter/material.dart';
 2
 3class Example3 extends StatefulWidget {
 4  @override
 5  _Example3State createState() => _Example3State();
 6}
 7
 8class _Example3State extends State<Example3> {
 9  FocusScopeNode node = FocusScopeNode();
10
11  @override
12  Widget build(BuildContext context) {
13    return Scaffold(
14      appBar: AppBar(),
15      body: FocusScope(
16        node: node,
17        child: SingleChildScrollView(
18          child: Column(
19            children: <Widget>[
20              for (var i = 0; i < 10; i++) buildTextField(),
21            ],
22          ),
23        ),
24      ),
25    );
26  }
27
28  TextField buildTextField() {
29    return TextField(
30      onEditingComplete: () {
31        if (node.focusedChild == node.children.last) {
32          print('submit');
33        } else {
34          node.nextFocus();
35        }
36      },
37    );
38  }
39}
这次连 FocusNode 都不需要自己写了, 直接用 Scope 里的
这个 example 的样子:
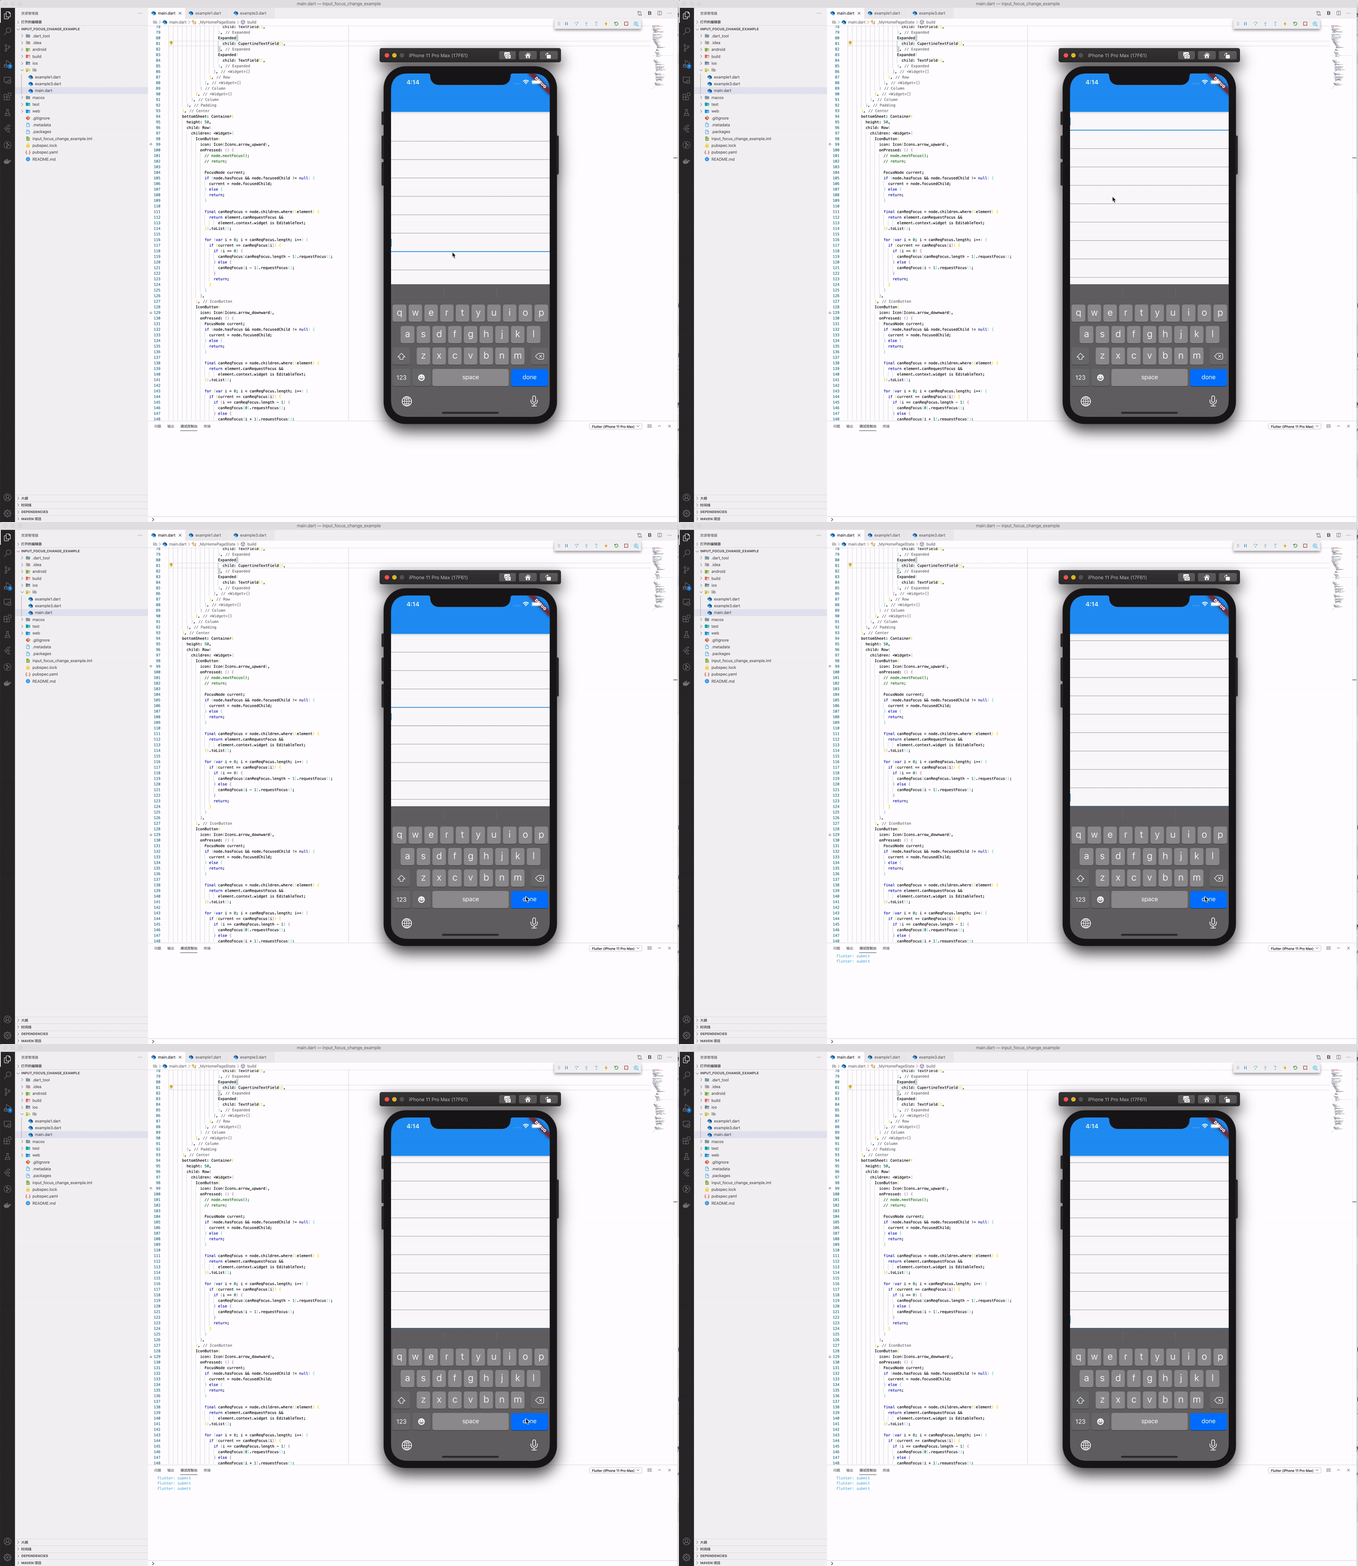
这是因为 TextField 是 EditableText 的封装
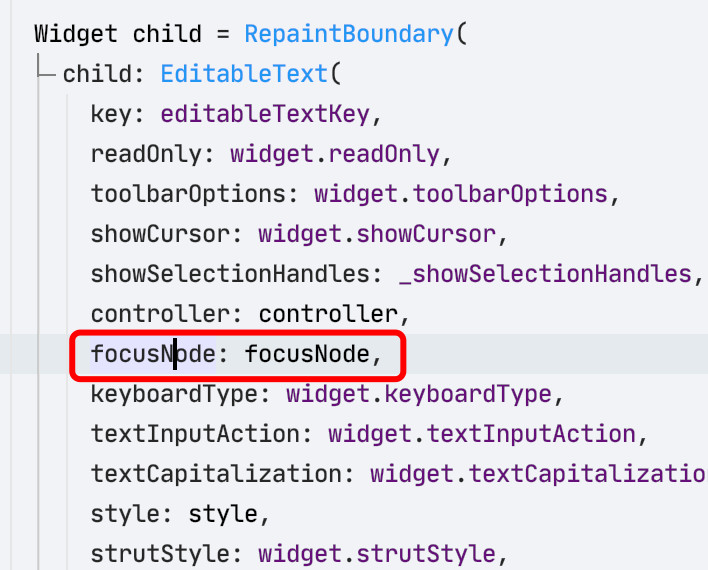


然后是在 EditableText 里, attach 到了 context 上
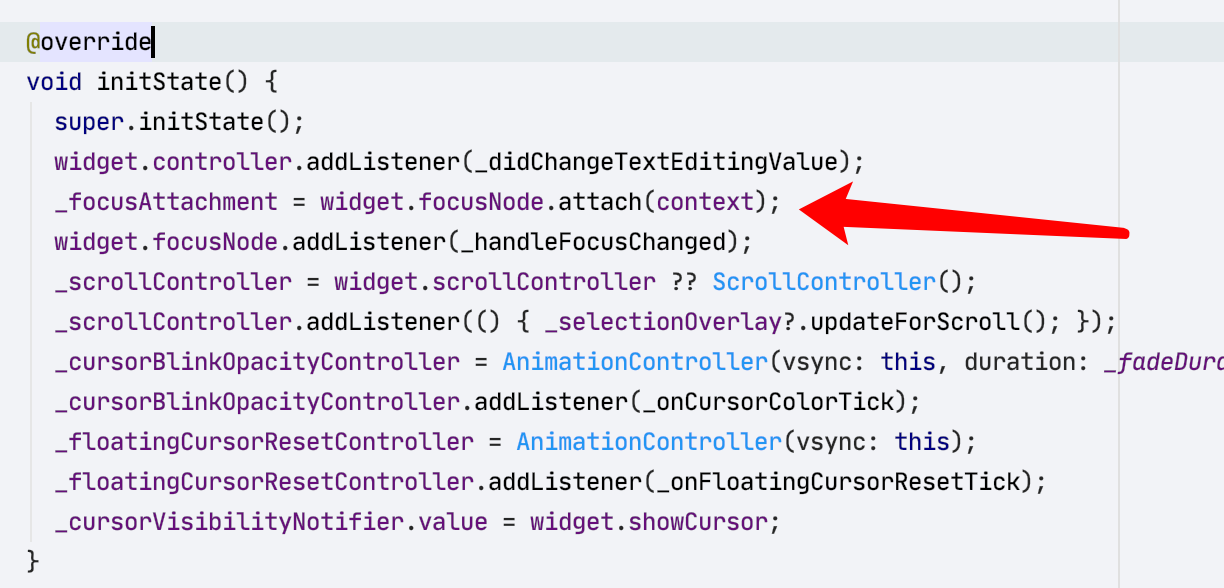
看到这里, 是不是发现其实有的东西很简单, 接下来复杂一下
再进阶
 1import 'package:flutter/material.dart';
 2
 3class Example3 extends StatefulWidget {
 4  @override
 5  _Example3State createState() => _Example3State();
 6}
 7
 8class _Example3State extends State<Example3> {
 9  FocusScopeNode node = FocusScopeNode();
10
11  @override
12  Widget build(BuildContext context) {
13    return Scaffold(
14      appBar: AppBar(),
15      body: FocusScope(
16        node: node,
17        child: SingleChildScrollView(
18          child: Padding(
19            padding: const EdgeInsets.all(8.0),
20            child: Column(
21              children: <Widget>[
22                for (var i = 0; i < 5; i++) buildTextField(),
23                Row(
24                  children: <Widget>[
25                    Expanded(
26                      child: TextField(
27                        onEditingComplete: onEdit,
28                      ),
29                    ),
30                    RaisedButton(
31                      onPressed: () {},
32                      child: Text('假装获取验证码'),
33                    ),
34                  ],
35                ),
36                for (var i = 0; i < 5; i++) buildTextField(),
37              ],
38            ),
39          ),
40        ),
41      ),
42      floatingActionButton: FloatingActionButton(
43        onPressed: () {
44          print(node.traversalChildren.length);
45        },
46        child: Icon(Icons.check),
47      ),
48    );
49  }
50
51  TextField buildTextField() {
52    return TextField(
53      onEditingComplete: onEdit,
54    );
55  }
56
57  void onEdit() {
58    node.nextFocus();
59  }
60}
这种偶尔旁边多了一个按钮的, 属于比较常见的方式, 然后上面代码突然就不好用了
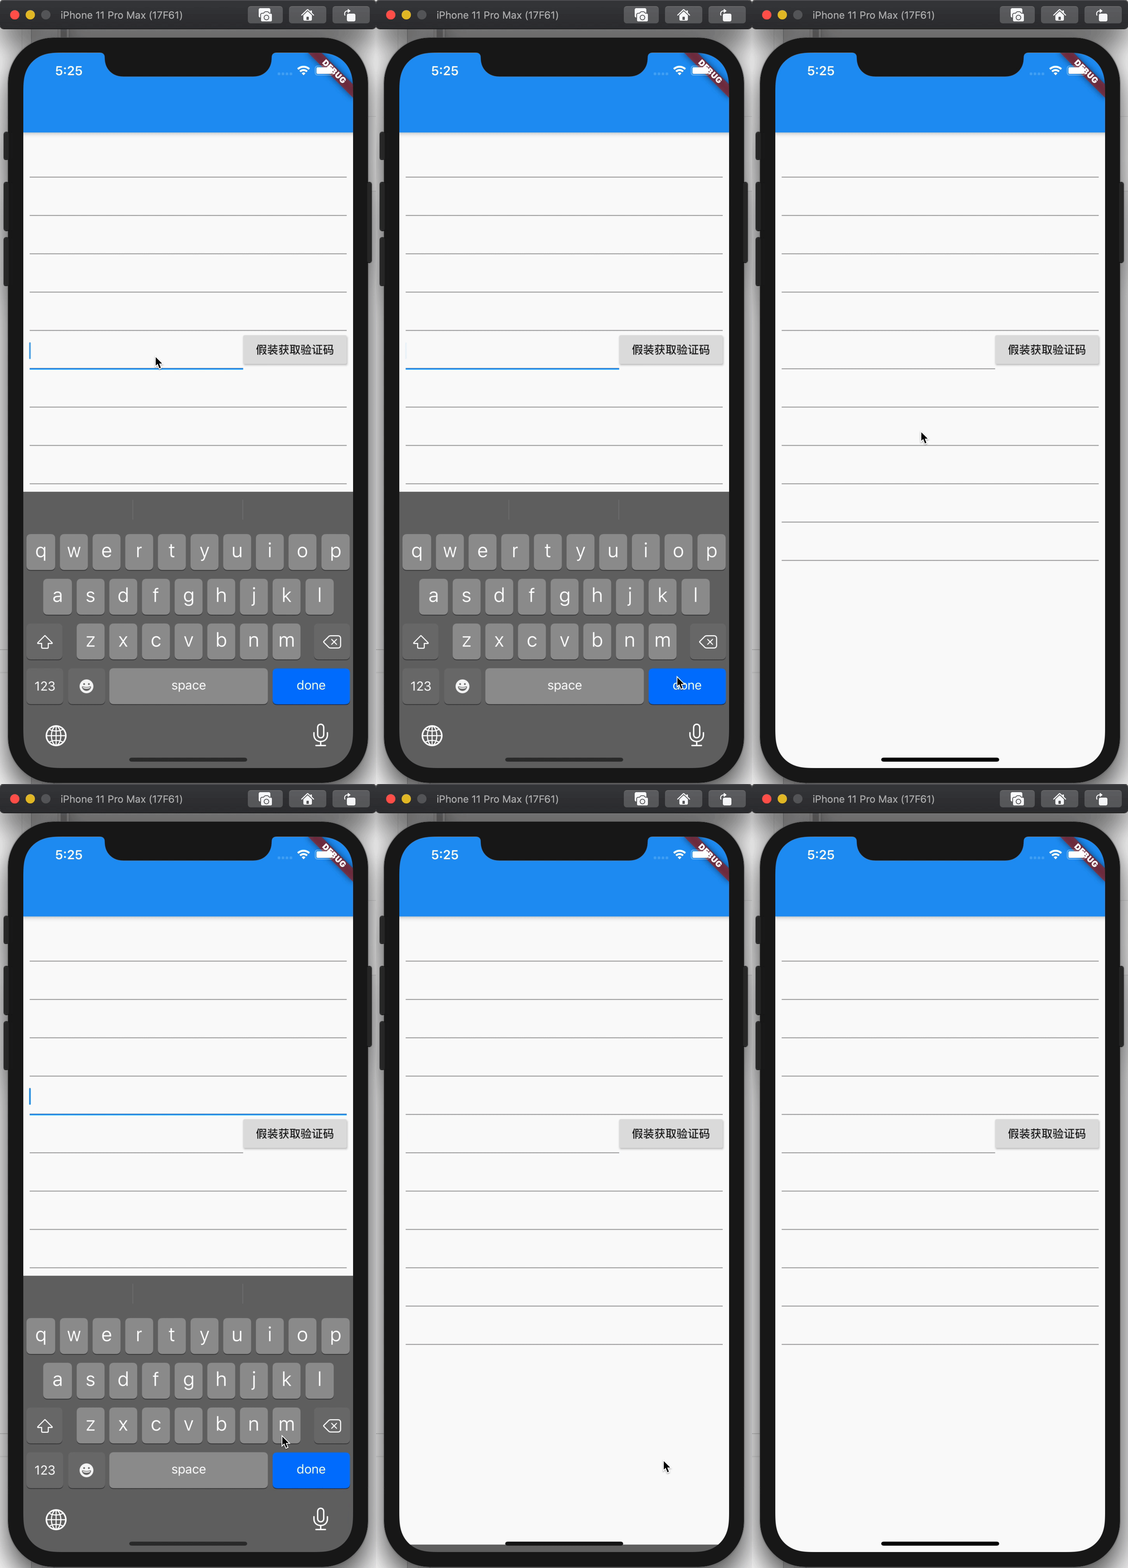
这时候就需要改代码了
1floatingActionButton: FloatingActionButton(
2onPressed: () {
3    print(node.children.length); // 12
4},
5child: Icon(Icons.check),
6),
为啥变 12 了呢, 不是只有 11 个输入框吗?
这里就和我开始说的对上了, 很多按钮也有 focus.
那么怎么在回车时跳过这个按钮呢
1   RaisedButton(
2    onPressed: () {},
3    focusNode: FocusNode(skipTraversal: true),
4    child: Text('假装获取验证码'),
5),
是的, 就是这样, 给按钮手动传入一个 FocusNode, 然后 skip 就可以了
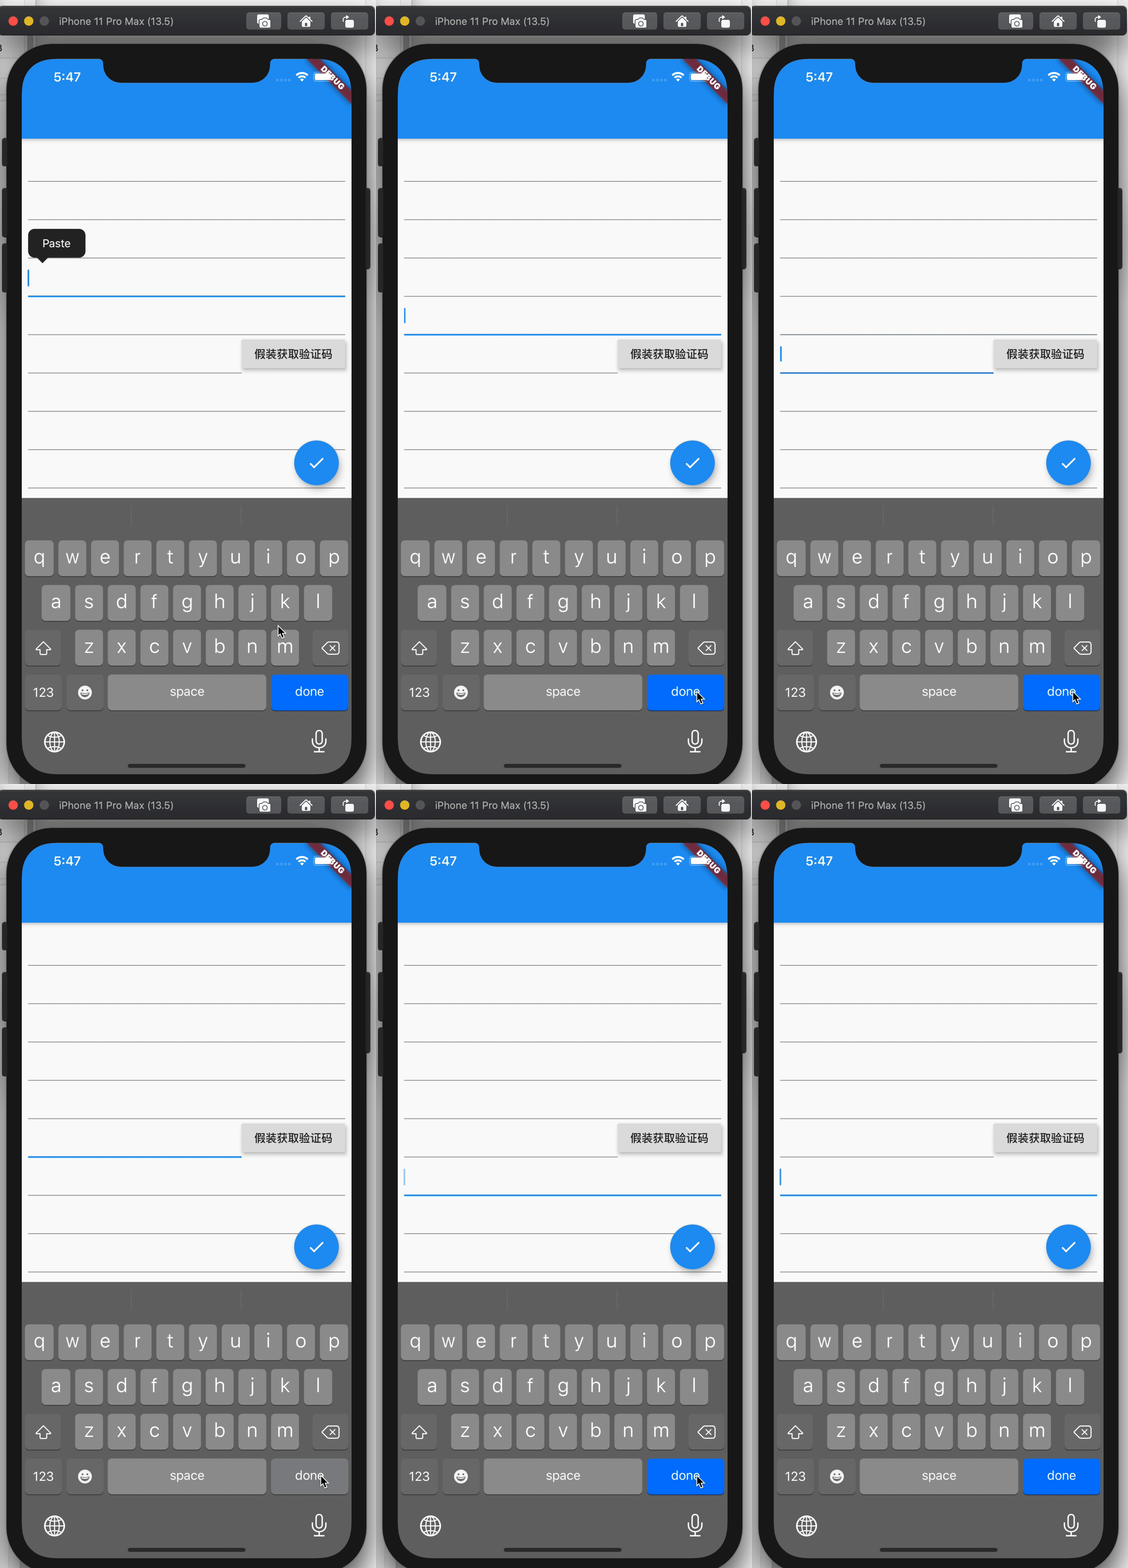
完整代码:
 1import 'package:flutter/material.dart';
 2
 3class Example3 extends StatefulWidget {
 4  @override
 5  _Example3State createState() => _Example3State();
 6}
 7
 8class _Example3State extends State<Example3> {
 9  FocusScopeNode node = FocusScopeNode();
10
11  @override
12  Widget build(BuildContext context) {
13    return Scaffold(
14      appBar: AppBar(),
15      body: FocusScope(
16        node: node,
17        child: SingleChildScrollView(
18          child: Padding(
19            padding: const EdgeInsets.all(8.0),
20            child: Column(
21              children: <Widget>[
22                for (var i = 0; i < 5; i++) buildTextField(),
23                Row(
24                  children: <Widget>[
25                    Expanded(
26                      child: TextField(
27                        onEditingComplete: onEdit,
28                      ),
29                    ),
30                    RaisedButton(
31                      onPressed: () {},
32                      focusNode: FocusNode(skipTraversal: true),
33                      child: Text('假装获取验证码'),
34                    ),
35                  ],
36                ),
37                for (var i = 0; i < 5; i++) buildTextField(),
38              ],
39            ),
40          ),
41        ),
42      ),
43      floatingActionButton: FloatingActionButton(
44        onPressed: () {
45          print(node.traversalChildren.length);
46        },
47        child: Icon(Icons.check),
48      ),
49    );
50  }
51
52  TextField buildTextField() {
53    return TextField(
54      onEditingComplete: onEdit,
55    );
56  }
57
58  void onEdit() {
59    node.nextFocus();
60  }
61}
所以总结一下步骤
- 将所有的输入框包在一个
FocusScope里, 设置FocusScopeNode. - 将有焦点但不是输入框的控件设置一个
FocusNode(skipTraversal: true) - 使用
FocusScopeNode的nextFocus方法
后记
本篇到此, 本系列的后续预计要深爬一下源码
以上